EPIC.png

This Is Epic

A curation of our design ideas and inspirations for houses in Goa, contemporary art and architecture.


Where to Live in Goa - The Neighbourhoods of North Goa

Life in Goa has a laid-back, luxurious simplicity that is hard to come by in most of our cities today. People who move here are typically looking to leave the rat race behind in pursuit of a slower lifestyle that offers infinite and diverse opportunities to live in harmony with the land, to embrace the local culture, to enjoy the natural abundance as well as savour the bounties brought by changing seasons.

While Goa is a small state, each of its neighbourhoods offer different and unique living experiences. For anyone who is considering moving to Goa or buying a house in Goa, here is a detailed analysis of what one can expect from the neighbourhoods of North Goa.

PANJIM & ITS SURROUNDINGS

Image sourced from The Culture Trip.

PROS:

As the capital city, Panjim is extremely well connected and relatively easier to access. It is a quaint and small town that bridges the old and the new - it offers modern residential amenities while also retaining historic neighbourhoods such as Fountainhas. Panjim, is at its core, a residential area primarily and therefore also has a robust presence of schools around. It is also close to the beach stretches of Miramar, Caranzalem, and Dona Paula.

CONS:

It may not be easy to get a large, spacious house with a backyard in Panjim. The houses available are largely present in apartments and the availability of outdoor space within a plot is hard to come by.

ALDONA, MOIRA & POMBURPA

Image sourced from Tripoto.com

PROS:

Located to the east of the highway, these are quaint villages in North Goa that are positioned at a distance from the beach belt and are therefore saved from Goa’s maddening tourist crowds. The villages offer a quiet lifestyle meant for people who want to coexist with locals and enjoy the real Goa. However, these areas have been gaining popularity over the last ten years as prime locations for countryside vacation homes. These areas typically contain vacation houses built by expats and Indians who live abroad.

CONS:

It is a bit of a trek to the beach from these areas. The closest beaches are about 40-45 minutes away. These areas are also sought after for their pristine and undisturbed natural habitats. Thus, one should expect to entertain the local flora and fauna in their home.

ASSAGAO & SIOLIM

Image sourced from Ghoomophiro.com

PROS:

These were traditionally well-to-do villages that today have some gorgeous and large heritage houses. These villages are closer in proximity to the beach belt and see a lot of local as well as tourist activity. The neighbourhood hosts multiple restaurants and stores of different kinds, so it is charged with buzz, life, and movement throughout the day.

CONS:

Unfortunately, the quintessential quietude of Goa is no longer to be found in these areas. Commercial activity has taken over and most parts of these villages are overbuilt in the name of development.

NERUL, BETHE & REIS MAGOS

Image sourced from Alvira-Ventures

PROS:

These are pictureque villages that are steeped in history. They are also strategically located. Positioned midway between the Candolim beach belt and Panjim, they make the beachside as well as the townside easily accessible.

CONS:

Gentrification has rapidly taken over these areas as well. It may be possible to get a beautiful row house in these areas, however, bigger houses and larger plots will not be easy to come by.

To compare North Goa and South Goa, visit our analysis here.

To know more about building a house in Goa, read our series: Designing a House in Goa

 
5 Ways to Design For Earthy Luxury

Now that you've got this house in Goa, imagine all the things you can do with it to make it your sanctuary. The most wonderful thing about having a house in Goa is being able to enjoy the natural immersion and the seasonal indulgence that comes with it. To us, design is a direct way to enhance comfort, improve quality of living, and create richness in experience within every space.
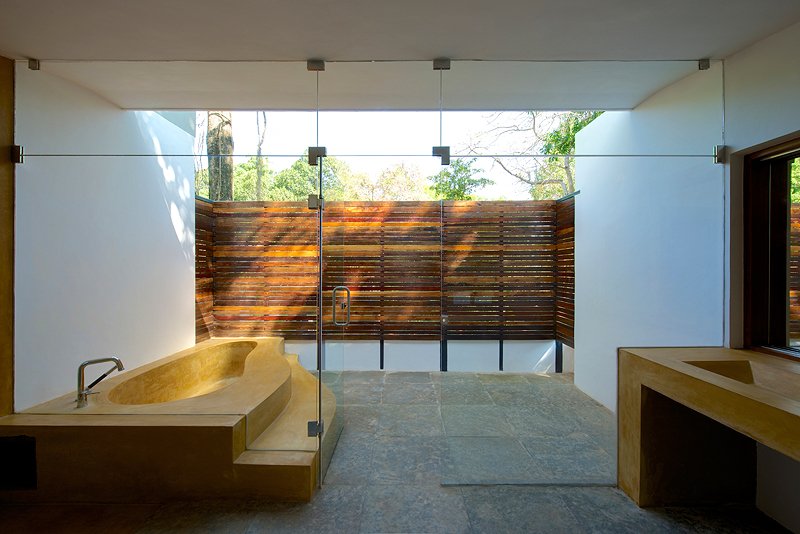
Design can be simple but generous and luxurious when the right materials and strategies are used. Here are 5 effective ways to create rustic spaces that are designed for barefoot and earthy luxury.

01 Create spacious bathrooms finished with rustic materials that feel great against bare feet.

Find bathrooms designed as sanctuary spaces here.

02 Use a colour palette of subtle shades & tones in neutral monochromatic colours.

Read more about building a neutral palette here.

03 Take advantage of the unique colours, patterns and textures of natural materials.

Learn about using and maintaining wood, lime, and IPS here.

04 Design landscape to mimic a wild landscape as opposed to manicured landscape.

Learn more about natural landscaping and local species here.

05 Practice a bit of wabi sabi where you appreciate and live with site's imperfections and the aging of materials.

Read our blogpost on living with nature.

Getting Started With Rammed Earth

Building with rammed earth is simple, pocket friendly, and sustainable. Contrary to popular belief, rammed earth construction is feasible in a wide range of climatic zones, including areas with a significant monsoon. A built rammed earth structure is a sight for sore eyes, it is a dense but breathable material which makes it great for thermal insulation. With the right processes and tools, a rammed earth structure can easily be implemented by anyone. Here are some basics about the natural material to help you get started.

Knowledge Partners: Gia Mantra Global Village


For a detailed analysis of Rammed Earth as a building material, watch my conversation with natural building expert Donald Sequeira here.

We also answered the FAQs on Rammed Earth recently. Find the Q&A session here.

Sustainable Architecture - Building With Rammed Earth - Q & A


In part two of 'Building with Rammed Earth', I speak to Donald Sequeira. Donald is an architect, natural builder, and the Director of Gia Mantra Global Village in Tiruvannamalai, Tamil Nadu, India. In this conversation, we take a deep dive into questions from students, practitioners and sustainability enthusiasts to clarify concerns regarding rammed earth as a building material. Through this Q&A session we touch upon various aspects including:

  • The Building Process

  • Strength of Material

  • Potential of Construction

  • Climate Feasibility, and

  • Maintenance

Here are some interesting questions that we received over the course of the IG Live session:

  1. Can a rammed earth structure be built in areas with heavy rain?

    A rammed earth structure can be built in any climatic zone including areas with heavy rainfall. The precaution to be taken is to ensure large overhangs are given to protect the wall from the rain. Additional surface treatments like waxing or plastering protect exterior walls for a longer period.

  2. What is the ideal soil type for rammed earth?

    Yes. Rammed earth walls can be built out of most local soils but the clay content should not exceed 30%. If the clay content is higher, the soil can be mixed with other soil types or washed with water to dilute the clay concentration.

  3. How are building services addressed?

    The electrical conduits and plumbing must be inserted while ramming. Prior planning is required. Otherwise, services can be added later but those surfaces may require plaster.

  4. Are any surface treatments possible?

    Yes, rammed earth walls can be plastered, painted, and tiled over like any other wall. Clear treatments such as wall waxing are also possible.

  5. Can river sand be added to the soil mix to reduce the clay content?

    Yes. However, river sand is not ideal because it is not a sustainable source. M-Sand is a good alternative to river sand and can be used as one of the mixture components.

  6. Can a 4" rammed earth wall partition wall be created inside a RCC framed structure?

    A 4" rammed earth wall may not be possible since very little space is available for ramming. Furthermore, if the wall is planned beneath a pre-existing beam or a slab, it becomes harder to ram the top portions and close the gap. CSEB is a good alternative for built framed structures.

Sustainable Architecture - Building With Rammed Earth - Part I


In this IG Live, I speak to Donald Sequeira. Donald is an architect, natural builder, and the Director of Gia Mantra Global Village in Tiruvannamalai, Tamil Nadu, India. In this first part of our conversation on 'Building with Rammed Earth', we understand the fundamentals. We understand the potential and constraints of rammed earth as a material and learn about preparing the material for construction. We speak about the material's strength and stability and understand construction concerns such as building height and services. We also discuss the durability and maintenance of rammed earth over its lifetime.

Here are some common myths about rammed earth debunked:

  • A rammed earth structure can be built in all climatic regions.

    Rammed earth can be used for construction anywhere. It is a breathable but dense material that offers great heat exchange in tropical areas and thermal insulation in extremely hot or cold regions.

  • A rammed earth building is durable and has a lifespan greater than concrete.

    Rammed earth structures also possess strength that is at least equal to the strength of concrete. They are extremely sustainable in the long run and require minimum maintenance.

  • Rammed earth walls do not have to be very thick and there is no limit to room sizes.

    For a ground floor structure, only a 9" rammed earth wall is required which is equal to the thickness of a brick wall. As long as this criteria is met, it is possible to create spacious rooms of various sizes with rammed earth.

  • There is no threat of insects or pests entering the house through the rammed earth walls.

    Once compressed, the rammed earth wall becomes extremely hard and dense. While the material is breathable, it is not not porous. The density does not allow for passages to be made by pests.

The feeling of being inside a rammed earth structure is indescribable. The structure changes with the weather to protect you. It has a quiet, special, womb-like quality - one instantly feels cocooned.

 
The Trees of Goa's Roads and Homes

Goa is a goldmine of biodiversity and trees are the crucial negotiators that tie these ecosystems together. As awareness increases about habitat loss and deforestation, people have taken the responsibility of hosting planting and re-wilding drives. The first step in this process is to identify and select plant species which are most effective and resource efficient for natural landscaping.

Here are popular, easy to source, and easy to plant species that are commonly found along Goa’s roads and within Goan homes.

AVENUE TREES

These trees are typically used for roadside planting owing to their large and extensive canopies that offer shade throughout the year. One often finds seasonal flowering trees chosen as avenue trees. However, fruiting varieties are typically avoided and are found mostly in private properties.


01 The Indian Laburnum


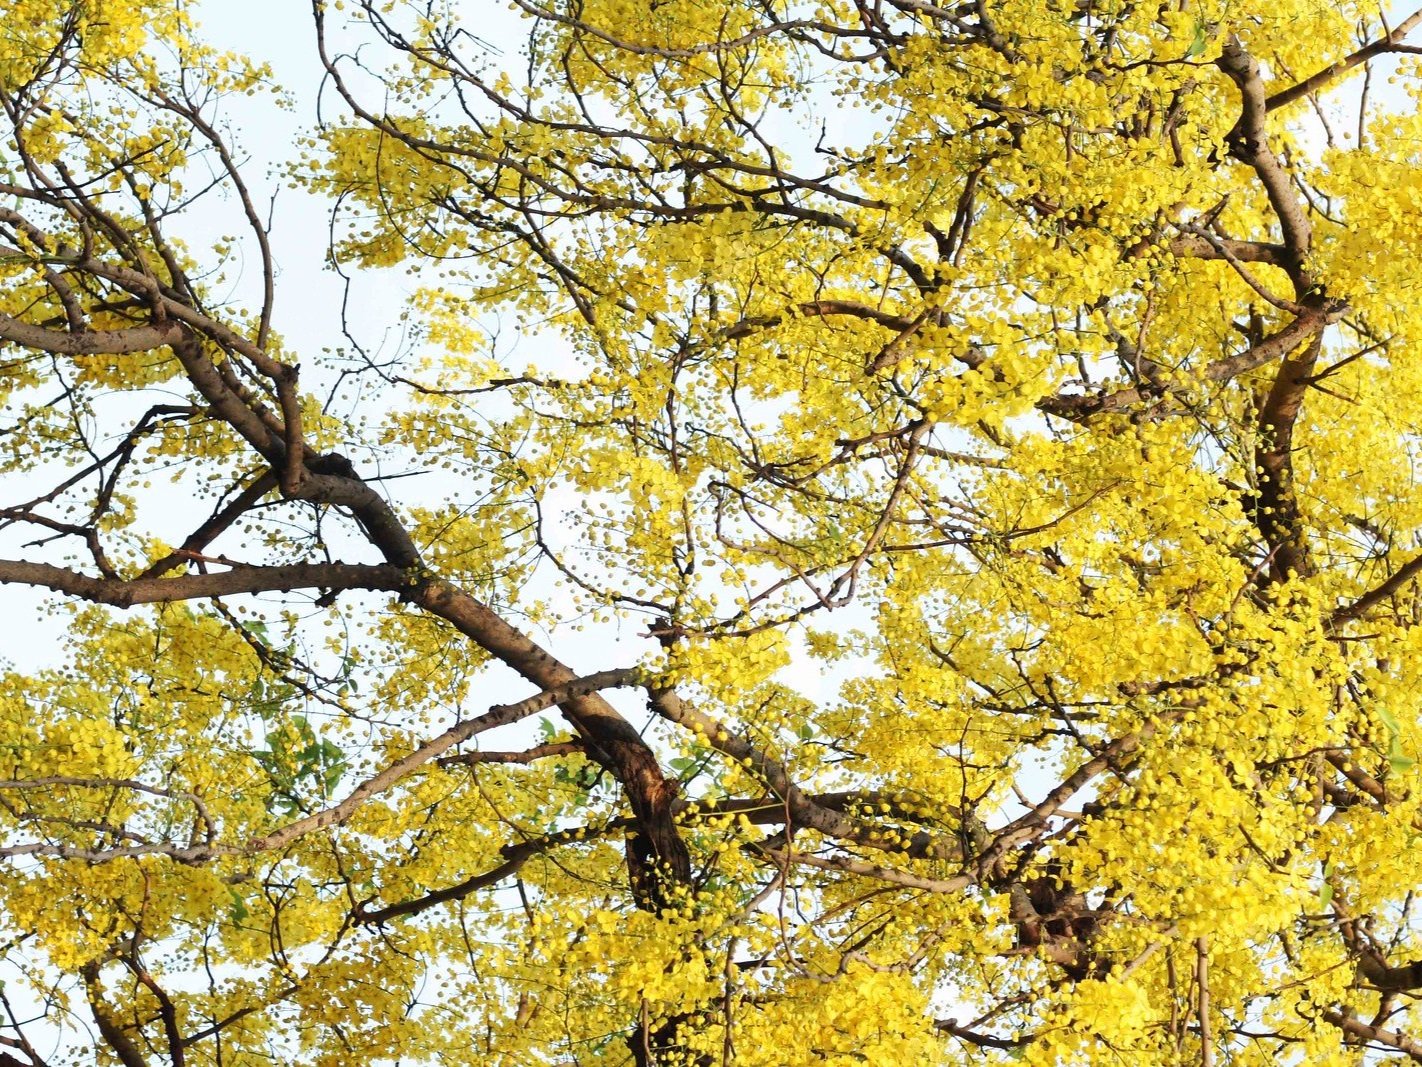
Cassia Fistula or The Indian Laburnum or Amaltas as it is locally called is a medium-sized deciduous tree. It is a sun loving tree that is known for its abundant and glorious yellow summer flowers. The tree is extensively found in Goa, especially along the roads of Panjim.

02 The Scholar’s Tree

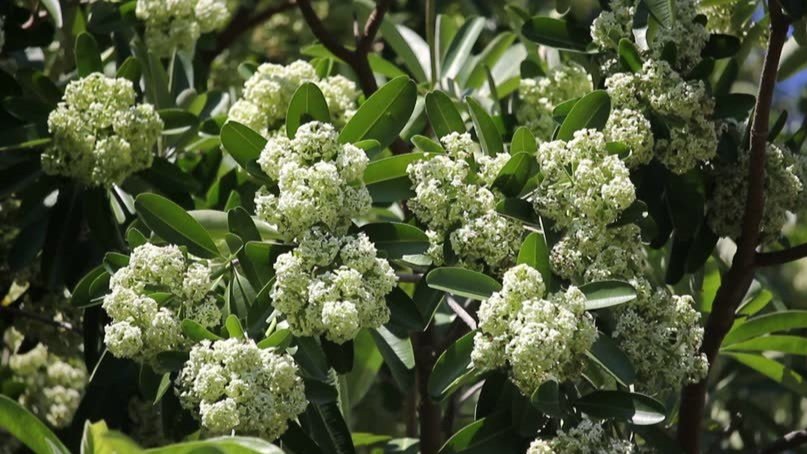
The Scholar’s Tree or Satvin as it is locally called is a tall, evergreen tree with branches in whorls. The tree blooms in the winter with white, fragrant flowers that are found in clusters. The tree is found all over Goa and is also otherwise known as The Devil’s Tree.

HOME TREES

Goa’s incredible biodiversity is best experienced at home. Homeowners can choose to plant any native flowering or fruiting tree without worrying about extensive care or maintenance. Many of these trees are also found in Goa’s public gardens and are known to attract a wide variety of birds and butterflies. These trees also support a lot of insects and creepy crawlies. This post tells you how you can design to coexist with and celebrate Goa’s diverse flora and fauna.


03. The Frangipani Tree


Plumeria Rubra or Plumeria Obtusa or Frangipani or Champa as it is lovingly called is a tropical tree and is a residential favourite in Goa. The Champa shrub has a lovely sculptural form and requires little maintenance. The plant does not require too much water and can thrive in any well-drained soil. The flowers are fragrant, bloom throughout the year, and come in different colours.

04. The Traveller’s Palm

The Traveller’s Palm is a picturesque spreading tree that looks beautiful when used along compound walls and the site edges. The fan profile layers over and blurs the hard site edge while also creating privacy. The palm is water loving and retentive, making it a valuable landscape feature during Goa’s heavy monsoons.

Also read about the native trees of Goa here.

Find a detailed list of Goa’s native trees in this directory.

Read our blog post on Protecting the Western Ghats here.

Sustainable Architecture - Building a Reed Bed System for Wastewater Management


In this IG Live, we speak to Dr. Ajit Gokhale, the founder of Natural Solutions, India to discuss ‘Building Reed-bed system for Wastewater Management’.
Over our conversation, we get into details about the components of a Reed bed system, how the water purification is carried out, and the right methods of implementation. We also debunk common misconceptions about reed beds such as odor and maintenance requirements. Finally, we speak about the different types of flowering and fruiting plants that can be used for reed bed systems in Goa and along the Western Ghats.

Natural Solutions aims to spread environmental literacy and offers sustainable solutions for Urban as well as Rural Problems of water scarcity, Solid Waste Management, and wastewater treatment. Here are some key takeaways from our conversation.

Debunked myths about reed-bed systems

  • A reed bed system does not smell if designed correctly. The simple precaution of introducing the inlet pipe at the bottom of the reed bed and not the top of the ensures that no foul smell is emanated.

  • A reed bed does not have to be designed in a segregated area. It can very much designed as part of the landscape to be a walkable, usable space that can be accessed regularly.

  • A reed bed can be used to effectively purify not just greywater but also black water and industrial wastewater when implemented correctly. It does not require significant additional maintenance.

Maintaining a reed-bed system

  • A reed bed system typically consists of two parts - a sedimentation system (a septic tank/ an anaerobic digester/ Jalrakshak) and a filtration system (the reed bed itself). The entire system requires very little external care or maintenance.

  • As with any common drainage or waste treatment system, the septic tank/ anaerobic digester/ Jalrakshak has to be cleaned occasionally.

  • The reed bed itself does not require any maintenance. The plants can be trimmed for aesthetic value but it is not necessary. Trimming does not hamper the reed bed system as long as it is done as per a pruning schedule. Care has to be taken that the base of the plants are intact.

Benefits of a reed-bed system

  • A reed bed system is a one-time investment with lifelong benefits. It is extremely low maintenance in the long run.

  • Depending on the microclimate, the reed bed can purify every 1L of impure water to create 0.7 to 0.9L of filtered water that can be reused.

  • The filtered water can be reused for irrigation & gardening, washing cars, and for flushing.

  • The reed bed can be integrated as an accessible part of the landscape of the house with flowering and fruiting plants and trees that become home to local biodiversity.

Reed beds are sustainable, scalable, cost-effective ecologically engineered systems that can effectively purify wastewater. They are easy to maintain and can be designed into the landscape irrespective of the project size or typology.


5 Sustainable Practices To Adopt While Building

Sustainable building is not as complicated as it sounds. Here are 5 simple practices to adopt while building which offer lifelong benefits and returns:

01. Harvest rainwater for reuse or to restore groundwater. Even a system as simple as a collecting tank makes a difference.

We have a conversation covering the basics of rainwater harvesting. Watch it here.

02 Source and use materials and natural stones that are local to the place.

Read about optimal use of local materials in this article.


03 Preserve existing trees and use native species. Use flowering & fruiting trees & plants to retain the habitat and welcome biodiversity.

Find out more about natural landscaping here.

04 Maximise daylight and cross ventilation by creating openings on at least two sides of a space.

Find out how to connect to the outdoors in this blogpost.

05 Create pathways and hardscape with permeable paving to allow rainwater to reach the ground and replenish the water table.

Learn more about designing outdoor paving here.


Welcome 2022!

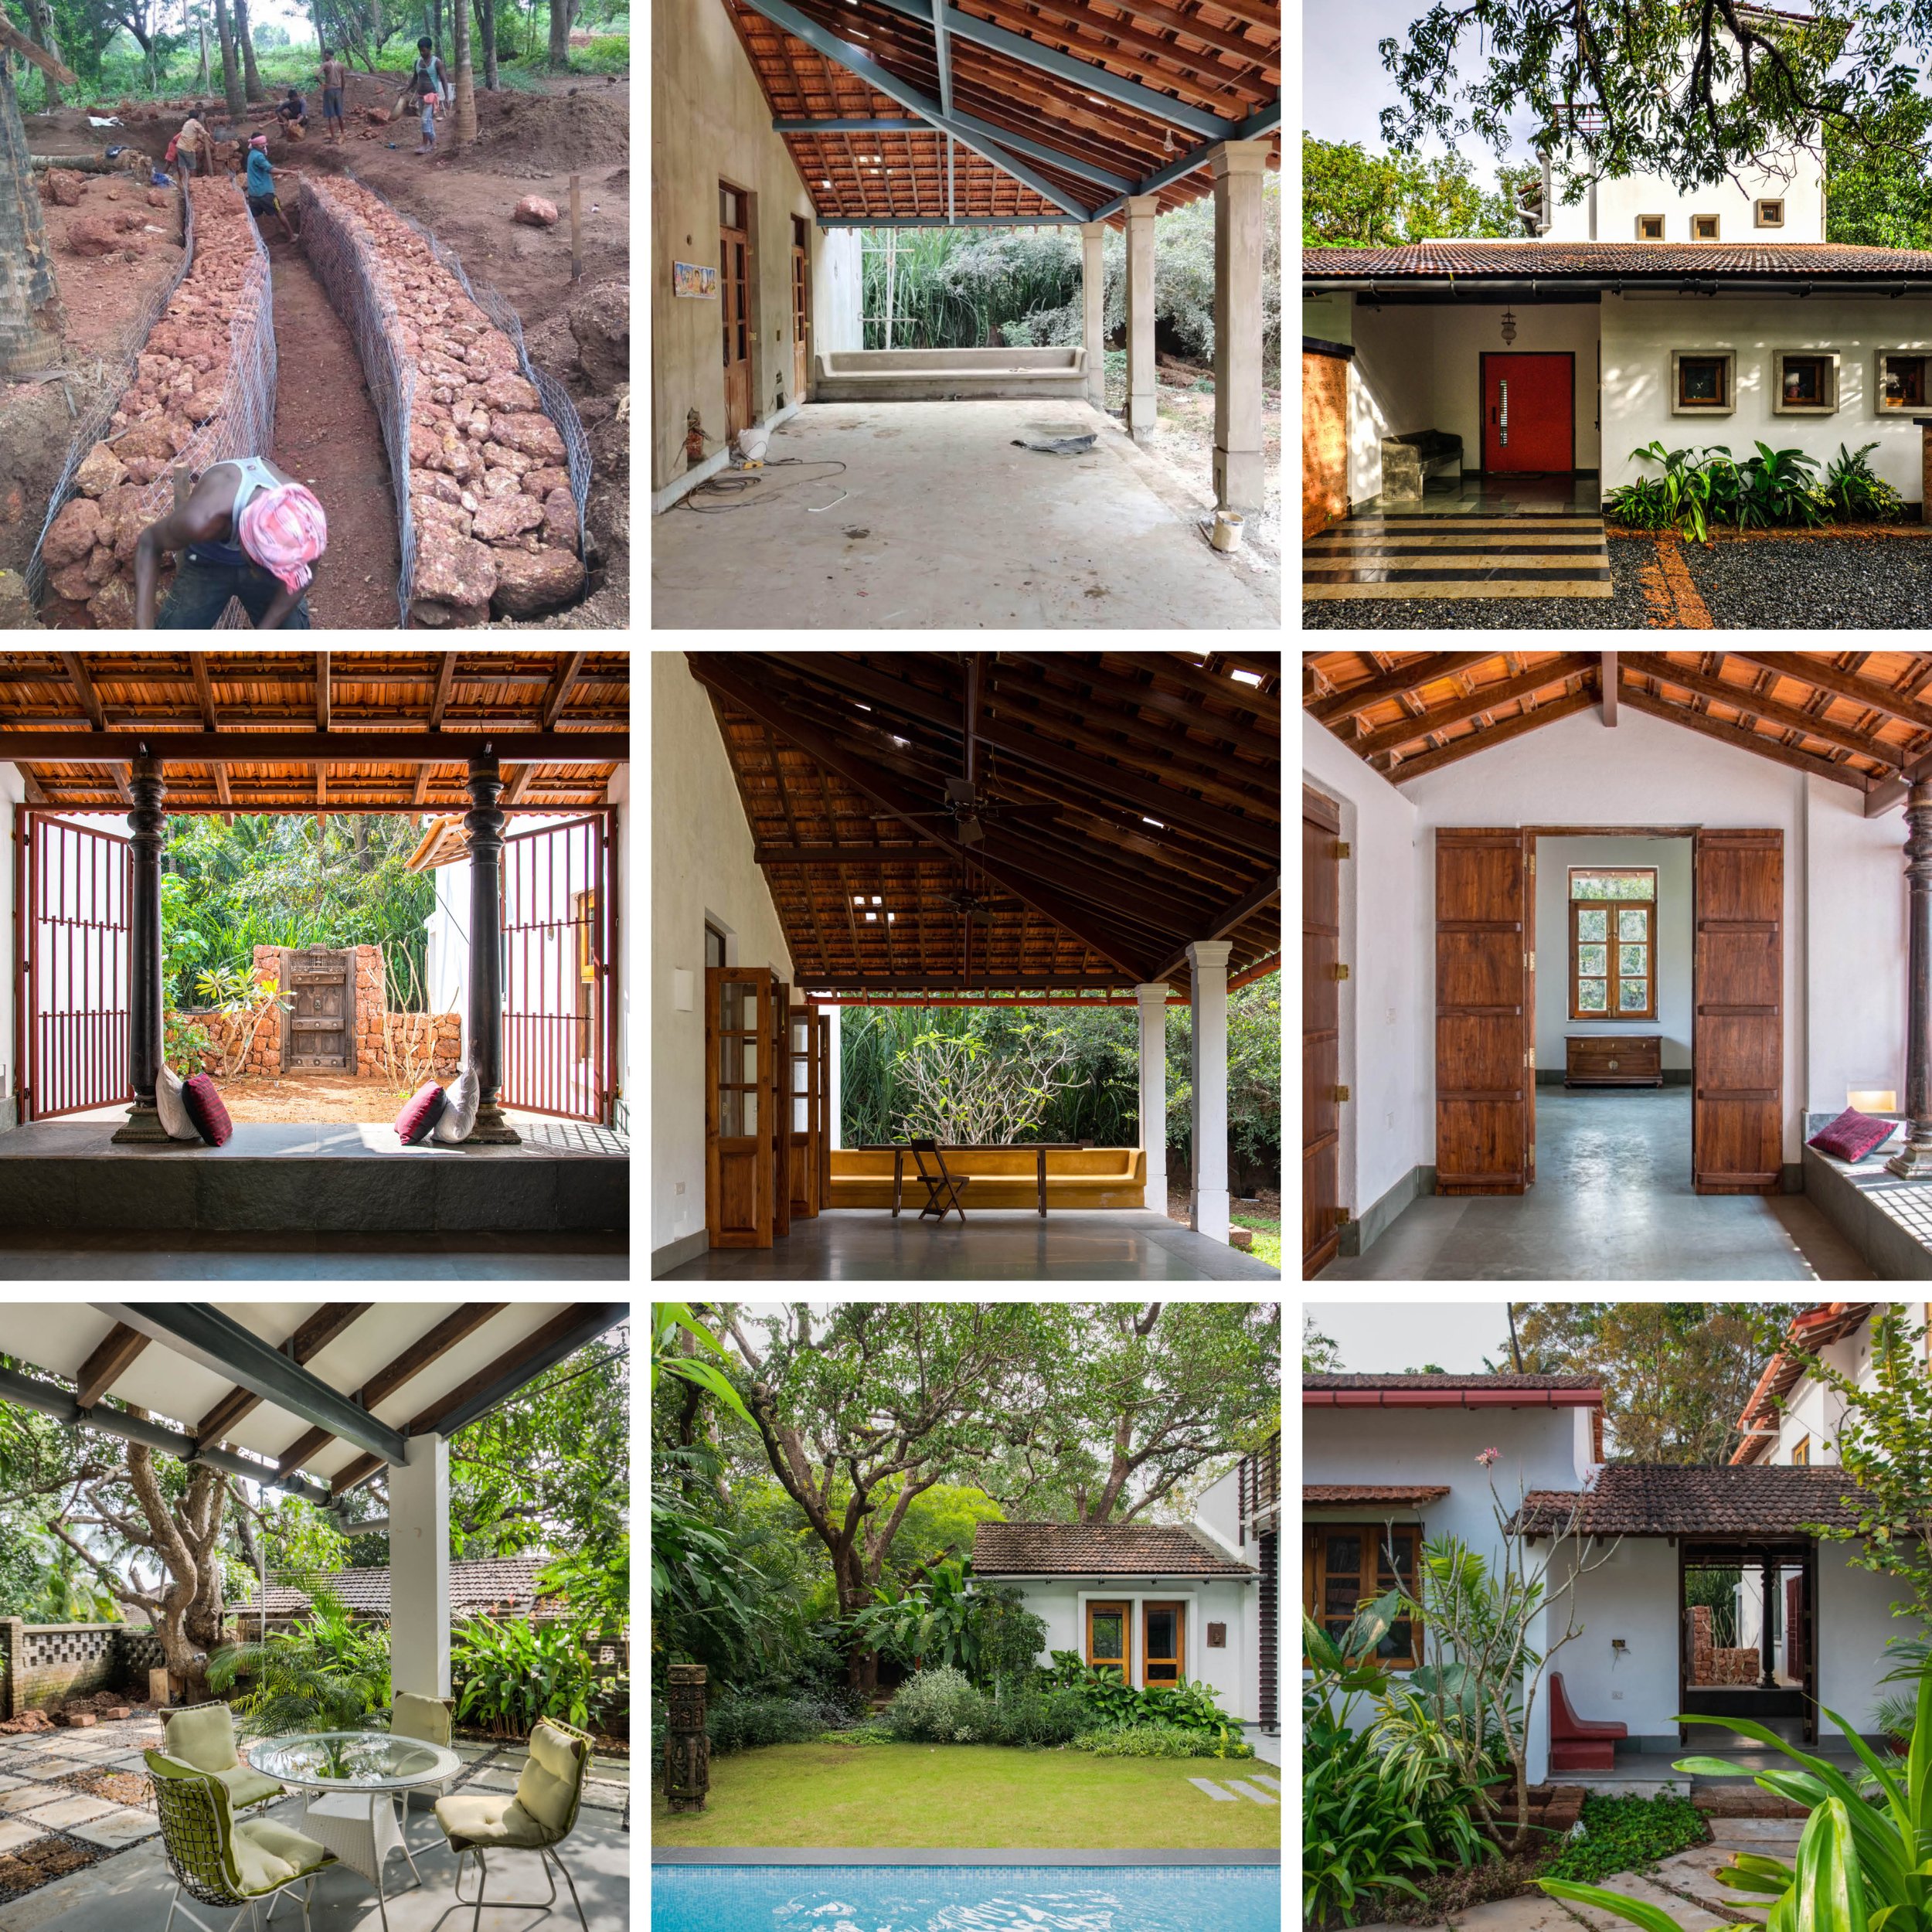
The year of 2021, while challenging, also marked several truly special milestones for our practice. We completed our design-build project in Goa, House with Three Pavilions, our countryside house Navovado won a platinum certification from the Indian Green Building Council, we watched our design for a lovely Lake House take physical shape in the picturesque Western Ghats. As a studio, our team has grown and we have been able to share our knowledge in sustainability through a series of Instagram lives and magazine columns with a diverse range of industry experts. As we begin a new year with a clean slate, looking back at the milestones from the year past, our #topnine2021 ! Giving gratitude for all that has been and here's to a wonderful and prosperous 2022!⠀


5 Design Strategies To Connect The Inside With The Outside

We love creating spaces with an intention to reconnect with nature - spaces that allow ample daylight and maximise natural ventilation, that seamlessly transition from indoor to outdoor and facilitate outdoor living. All of these aspirations can be easily realised using 5 key strategies to connect the inside with the outside.

01. Build around site's existing features, elevations, topography and consider restoring habitats.

Try to retain the site in its natural state as much as possible by limiting building footprint and preserving the existing ecological patterns. Before building, take time to observe natural patterns such as sun and shade, rain and drain, dry and lush areas, etc.

Visit the link to learn more about taking a site positive approach.

02. Design for extensive verandahs and incorporate verandahs as transition spaces to take everyday activities outdoors

Design indoor spaces that are flanked by generous outdoor spaces in the form of verandahs and courtyards. You can read our blogpost about the benefits of incorporating verandahs here.

03. Create large openings that seamlessly connect the indoors with the outdoors

Introduce large openings in between these indoor and outdoor spaces which can be opened up to connect the two spaces to allow them to function as one space.

04. Frame views

The openings should be designed to frame views and focus on key natural elements on the site, such as an existing tree, water feature, rocky outcrop, and/ or the views offered by the site.

Find out more about framing views here.

05 Continue the same material from indoor to outdoor and play with finish and texture to create variance

We like to use the same material in the indoor and outdoor space, once again connecting them visually and making them appear as one continuous space. The finish can be slightly altered from space to space ranging from mirror polished to rough cut as seen in the photograph below.

Find our answers to frequently asked questions about using natural stone here.